Creating a Canva-like design tool: Essential features and Ideas
Posted on: 12/27/2024 10:02:44 AM
A customer recently approached me with an exciting request: they needed a Canva-like design tool to integrate into their CMS. After a few hours of research, I decided to take on the challenge. In this series, I'll be sharing my progress, insights, and tips as I build this tool from scratch.
Use Cases: What this tool will focus on and why
This tool is designed to be versatile, catering to various needs. Here are some potential use cases:
- T-Shirt Design Platforms: Enable users to create unique designs for custom merchandise.
- Frame Design Platforms: Help customers visualize and design personalized photo frames.
- Custom Graphic Design Tools: Create a standalone or integrated design tool for your product.
- Animation/Ad/Video Editors: Offer users the ability to create dynamic and engaging media.
The flexibility of this tool makes it suitable for both niche applications and broader creative platforms.
For a design tool to be truly effective, it must prioritize usability and functionality. Here's a breakdown of the core features:
Core Features
WYSIWYG Editor
- A "What You See Is What You Get" interface for intuitive design.
Multi-Page Support
- Users can design and manage multiple pages seamlessly.
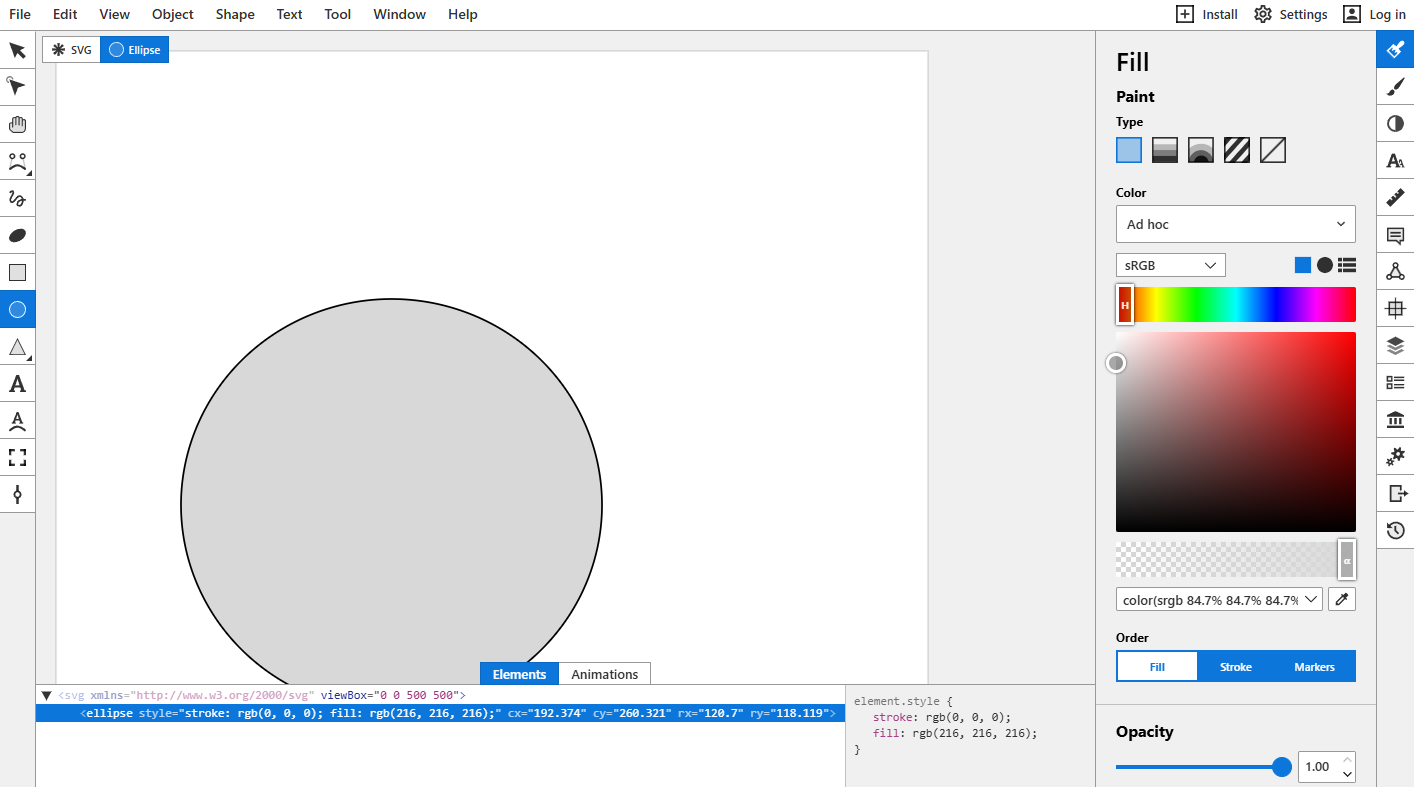
Element Types
- Shapes: Add and customize geometric elements.
- Images: Insert, resize, and edit images.
- Text: Style text with fonts, colors, and alignments.
- Hand-Drawn Elements: Include freehand drawing tools.
- Videos & Music: Embed multimedia for dynamic designs.
- Custom Elements: Each element will have its own set of adjustable properties, such as:
- Colors
- Resize options
- Borders
- And more, depending on the element type.
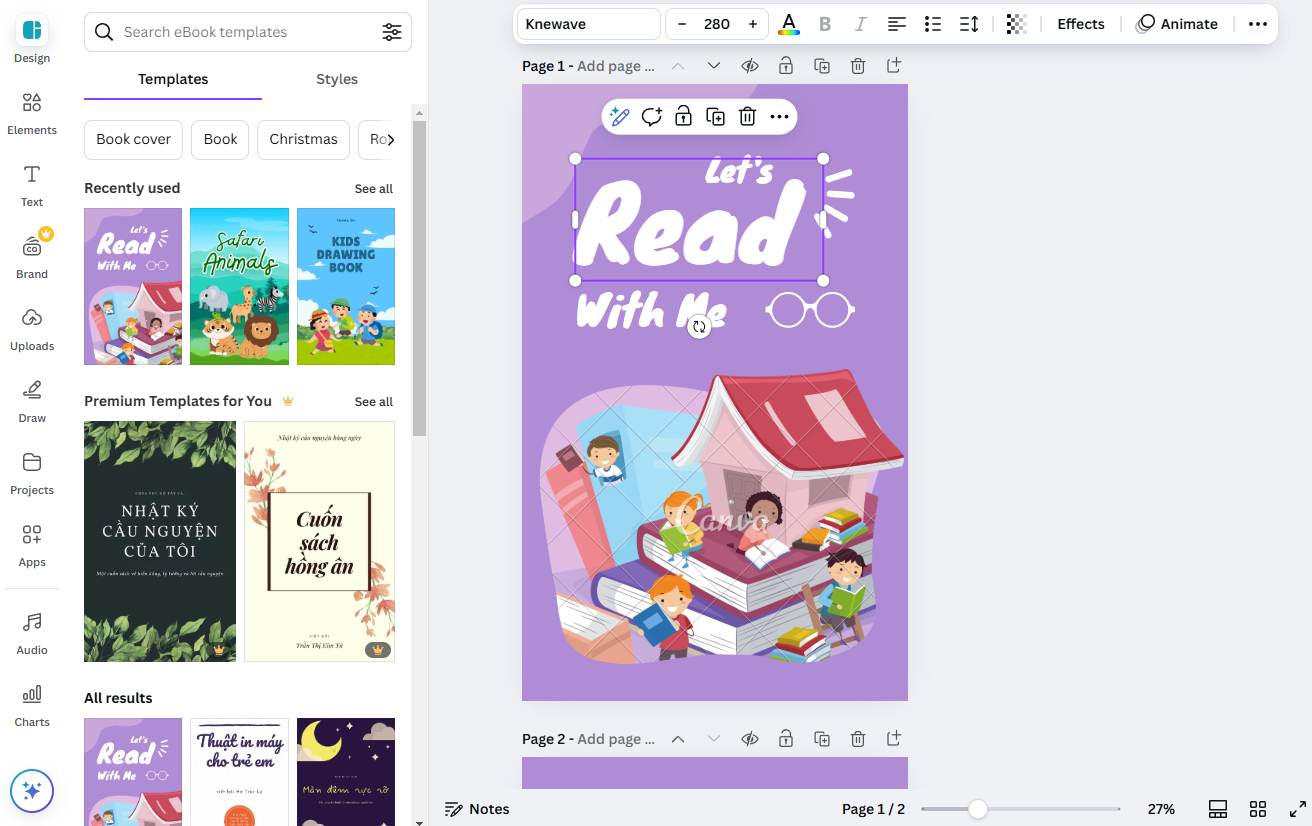
Templates
- Pre-made Templates: Browse and insert ready-made designs.
- Custom Templates: Allow users to create and save their own templates.
Page Transitions
- Add smooth transitions between pages for a professional touch.
- Display Options: Customize autoplay settings for all pages.
Element Animations
- Include entrance, attention, and exit effects with customizable:
- Types
- Durations
- Delays
- Offer an advanced animation editor with keyframe management for precision.
Export Options
- Images: Export designs in formats like PNG, JPEG, and SVG.
- JSON: Save projects as JSON for UI building or future editing.
- Videos: Export as MP4 or other video formats.
- HTML: Create standalone interactive HTML files, perfect for ads or interactive content.
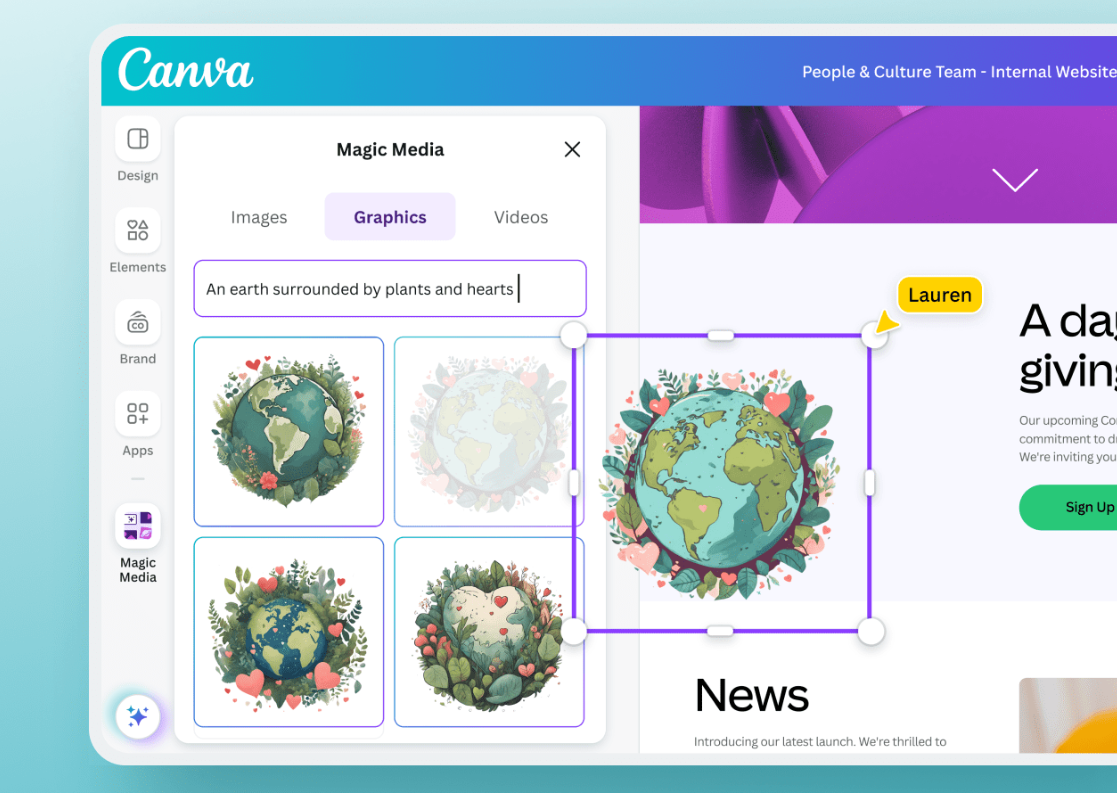
Learning from Existing Tools
To make our editor user-friendly and powerful, we can draw inspiration from established tools like Canva and similar platforms. Analyzing their features, user flows, and design philosophy will help ensure our tool is both functional and competitive.
Now, Time to Start!
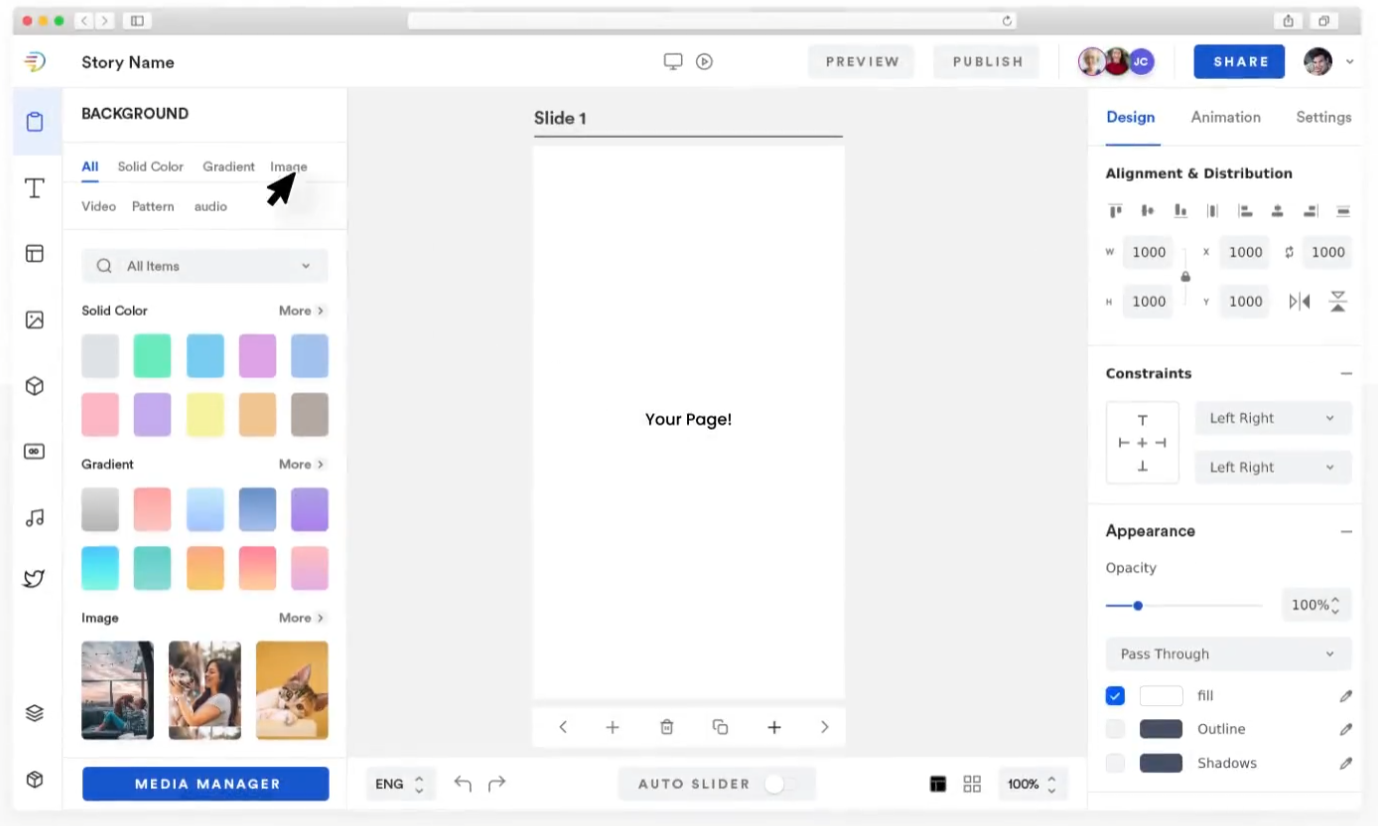
The first step in building our design tool is deciding on the editor layout. After careful consideration, here's the structure I've chosen:
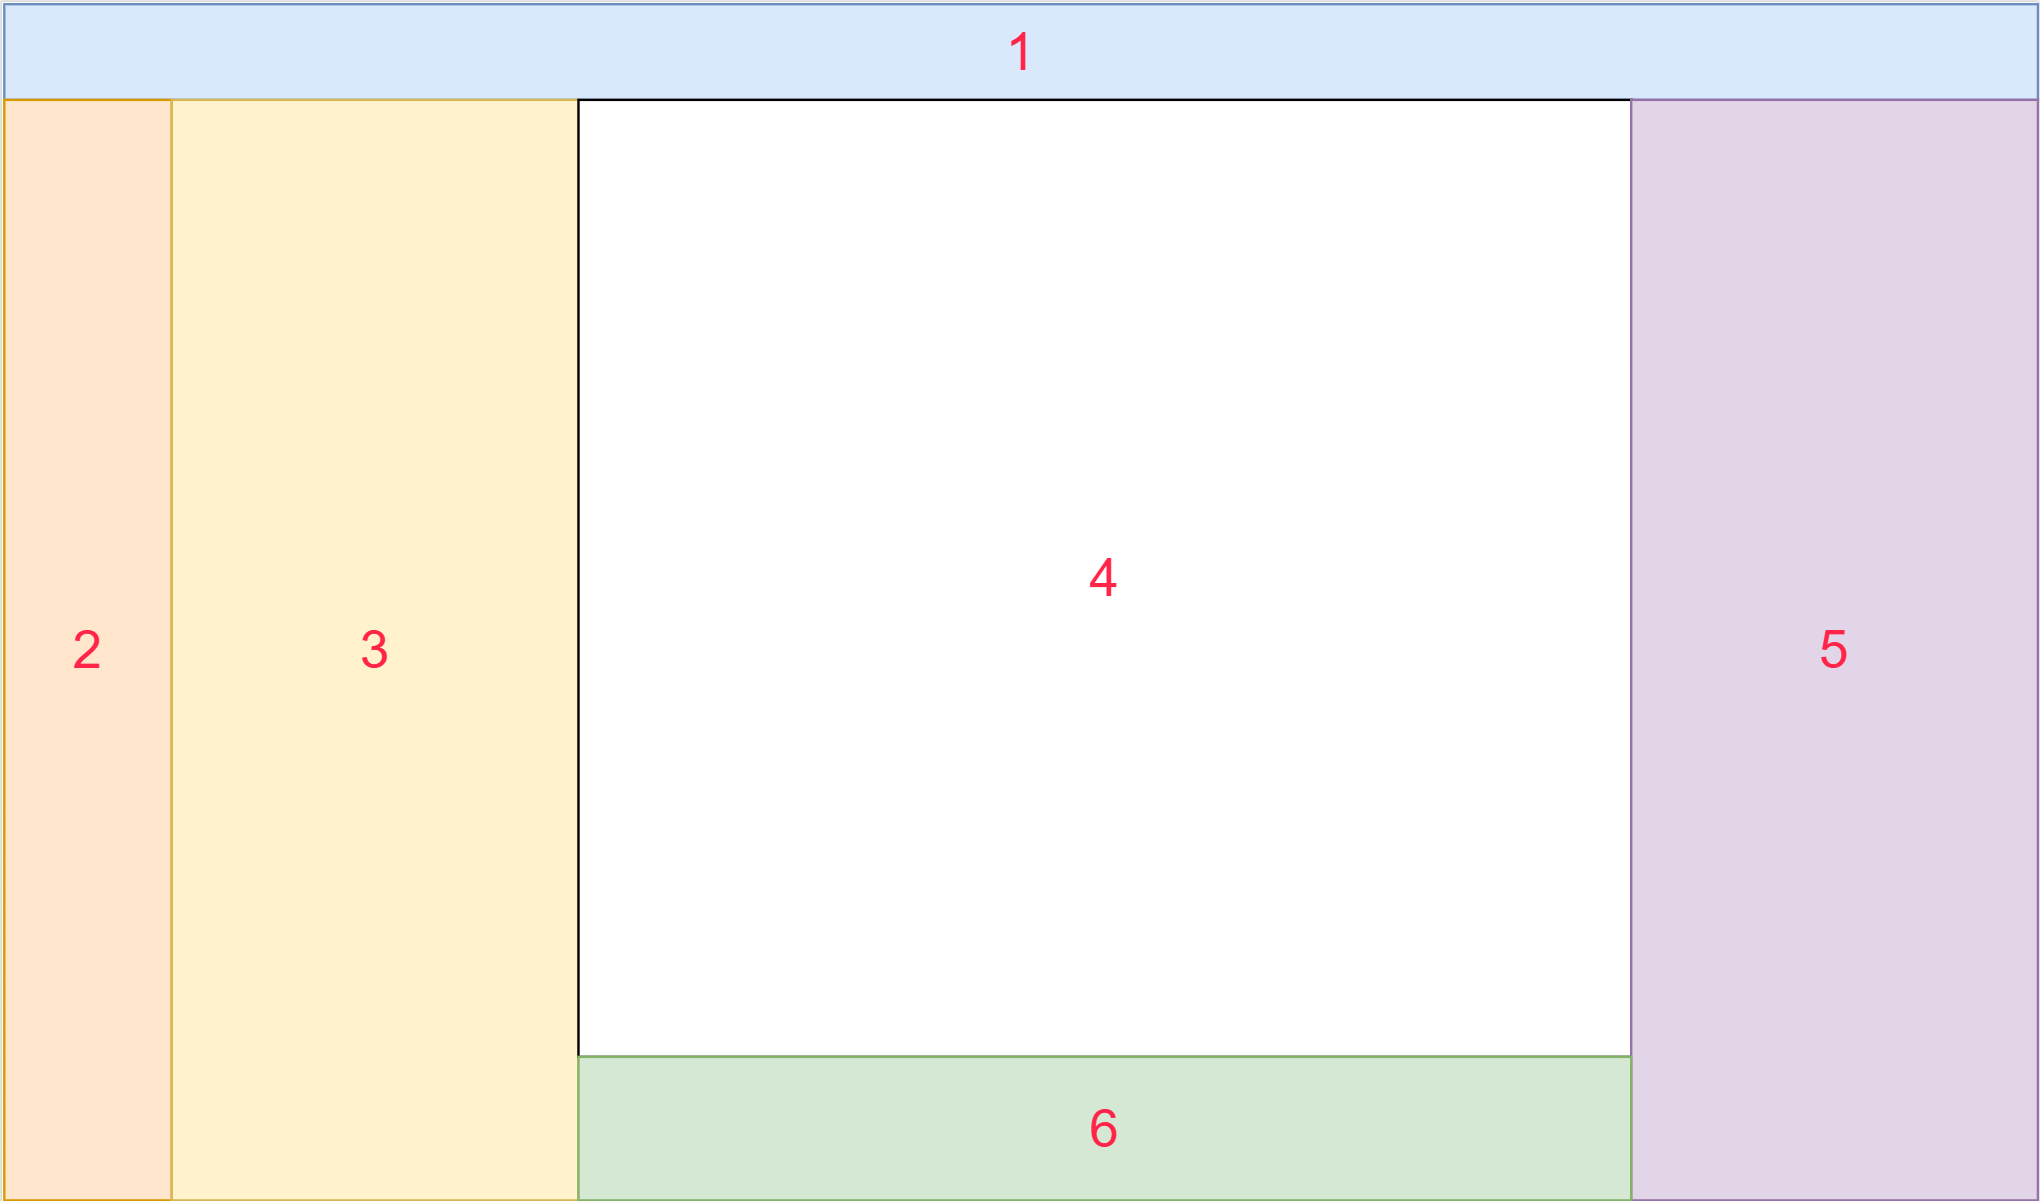
1. Top Toolbar Area
This area will provide quick access to essential actions:
- Edit the project title.
- Undo/redo actions and zoom functionality.
- Preview the design and export (download) options.
2. Left Toolbar Area
This toolbar allows users to switch between main functions:
- Templates: Access and insert pre-designed templates.
- Elements: Add shapes and other basic design elements.
- Text: Insert text elements.
- Image: Upload and manipulate images.
- Video: Add video elements to the design.
- Audio: Incorporate audio clips for multimedia projects.
3. Sub Toolbar Area
This section lists detailed options, enabling users to:
- Browse and search through elements, images, or templates.
- Preview and select items from the list.
4. Main Design Area
The core workspace where users design their projects. Features include:
- Display the current page and its elements.
- Drag and Drop: Easily position elements on the canvas.
- Resize Elements: Adjust the dimensions of elements.
- Group/Ungroup: Manage grouped elements for complex designs.
- Selection Tools: Enable multi-select for batch actions.
- Alignment Ruler: A ruler tool for precise element alignment.
5. Properties Area
This section displays detailed properties for customization:
- Page Properties: Modify settings like background color or size.
- Element Properties: Adjust individual element attributes, such as size, position, color, and animation settings.
6. Pages List Area
A dedicated space to manage pages within the project. Users can:
- Add, remove, and reorder pages.
- Navigate between pages effortlessly.
Alright, this layout seems practical and should make things easier to work with. What do you think? See you in the next chapter: Technology & Setup Environment!
Welcome to the little place, this is my first post
Creating a Canva-like design tool: Tech choices and lessons learned
Disclaimer: The opinions expressed in this blog are solely my own and do not reflect the views or opinions of my employer or any affiliated organizations. The content provided is for informational and educational purposes only and should not be taken as professional advice. While I strive to provide accurate and up-to-date information, I make no warranties or guarantees about the completeness, reliability, or accuracy of the content. Readers are encouraged to verify the information and seek independent advice as needed. I disclaim any liability for decisions or actions taken based on the content of this blog.